Okay, Let’s Talk Chocolate Ganache
So you wanna make ganache? Good choice! It’s basically the holy grail of chocolate goodness, and honestly, once you get the hang of it, you’ll be putting it on everything. I’m talking cake drips, fruit dips, fancy frosting – the works.
Here’s the crazy part: it’s literally just chocolate and cream. That’s it. Two ingredients and you look like a total dessert wizard. Let me walk you through it so you don’t stress about it.
What You Need (And Why It Actually Matters)
The Chocolate Situation
Look, I’m gonna be real with you here – get the good chocolate bars, not the chips. I know, I know, chips seem easier, but they’ve got all these weird stabilizers that’ll make your ganache look like it had a bad breakup. Chunky and sad.
Go for something like Baker’s or Ghirardelli bars. Semi-sweet is your best friend here – it’s got that perfect balance where it’s not too bitter but still tastes grown-up. If you’re feeling fancy, bittersweet works too, but heads up: the really dark stuff (like 70%+) can be a bit dramatic and might “break” on you. We’ll talk about fixing that later.
Pro tip: Chop that chocolate up small! Like, really small. Your future self will thank you when everything melts evenly instead of leaving you with stubborn chunks.
The Cream Talk
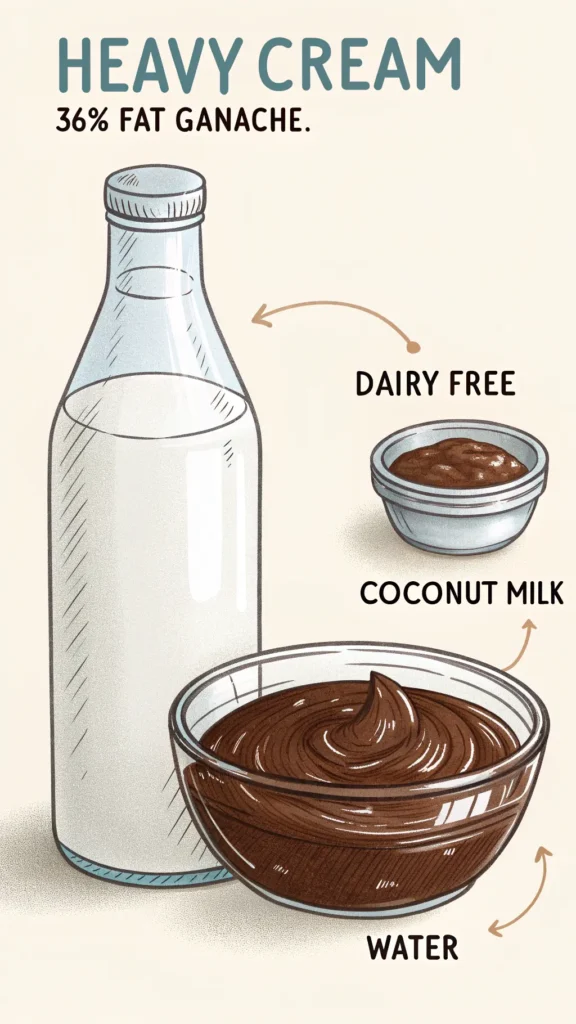
You need heavy cream – the real deal with about 36% fat. Don’t try to get cute with half-and-half or regular milk. Trust me, I’ve been there, and it just doesn’t work. You’ll end up with sad, thin chocolate milk instead of rich, luxurious ganache.
No cream? Full-fat coconut milk from a can works great for dairy-free folks. Heck, you can even use water if you’re in a pinch – it actually makes things super shiny, especially with dark chocolate. But cream’s definitely gonna give you the best flavor.
How to Actually Make This Magic Happen
Step 1: Heat That Cream (But Don’t Go Crazy)
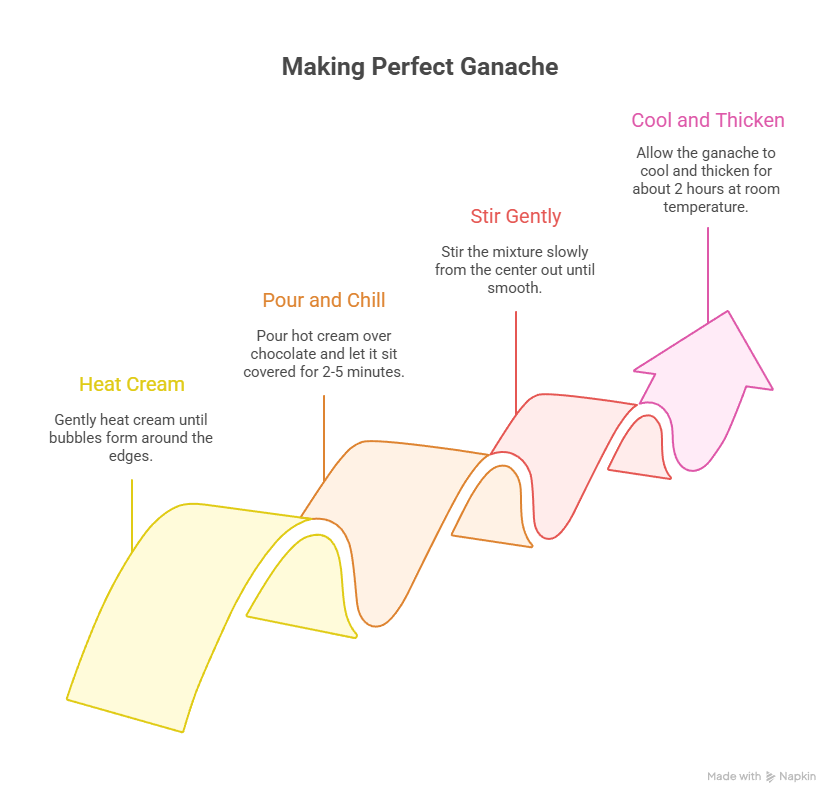
Put your cream in a small pot and heat it on medium until you see little bubbles forming around the edges. That’s it – don’t let it go full rolling boil or you’ll scorch it and have to start over. Been there, done that, learned my lesson.
Step 2: The Pour and Chill Method
Put your chopped chocolate in a bowl (glass or metal – plastic’s weird with hot stuff). Pour that hot cream right over the chocolate and then – this is important – just walk away.
Cover the bowl and let it sit for like 2-5 minutes. I know it’s tempting to stir right away, but don’t! Let the heat do its thing.
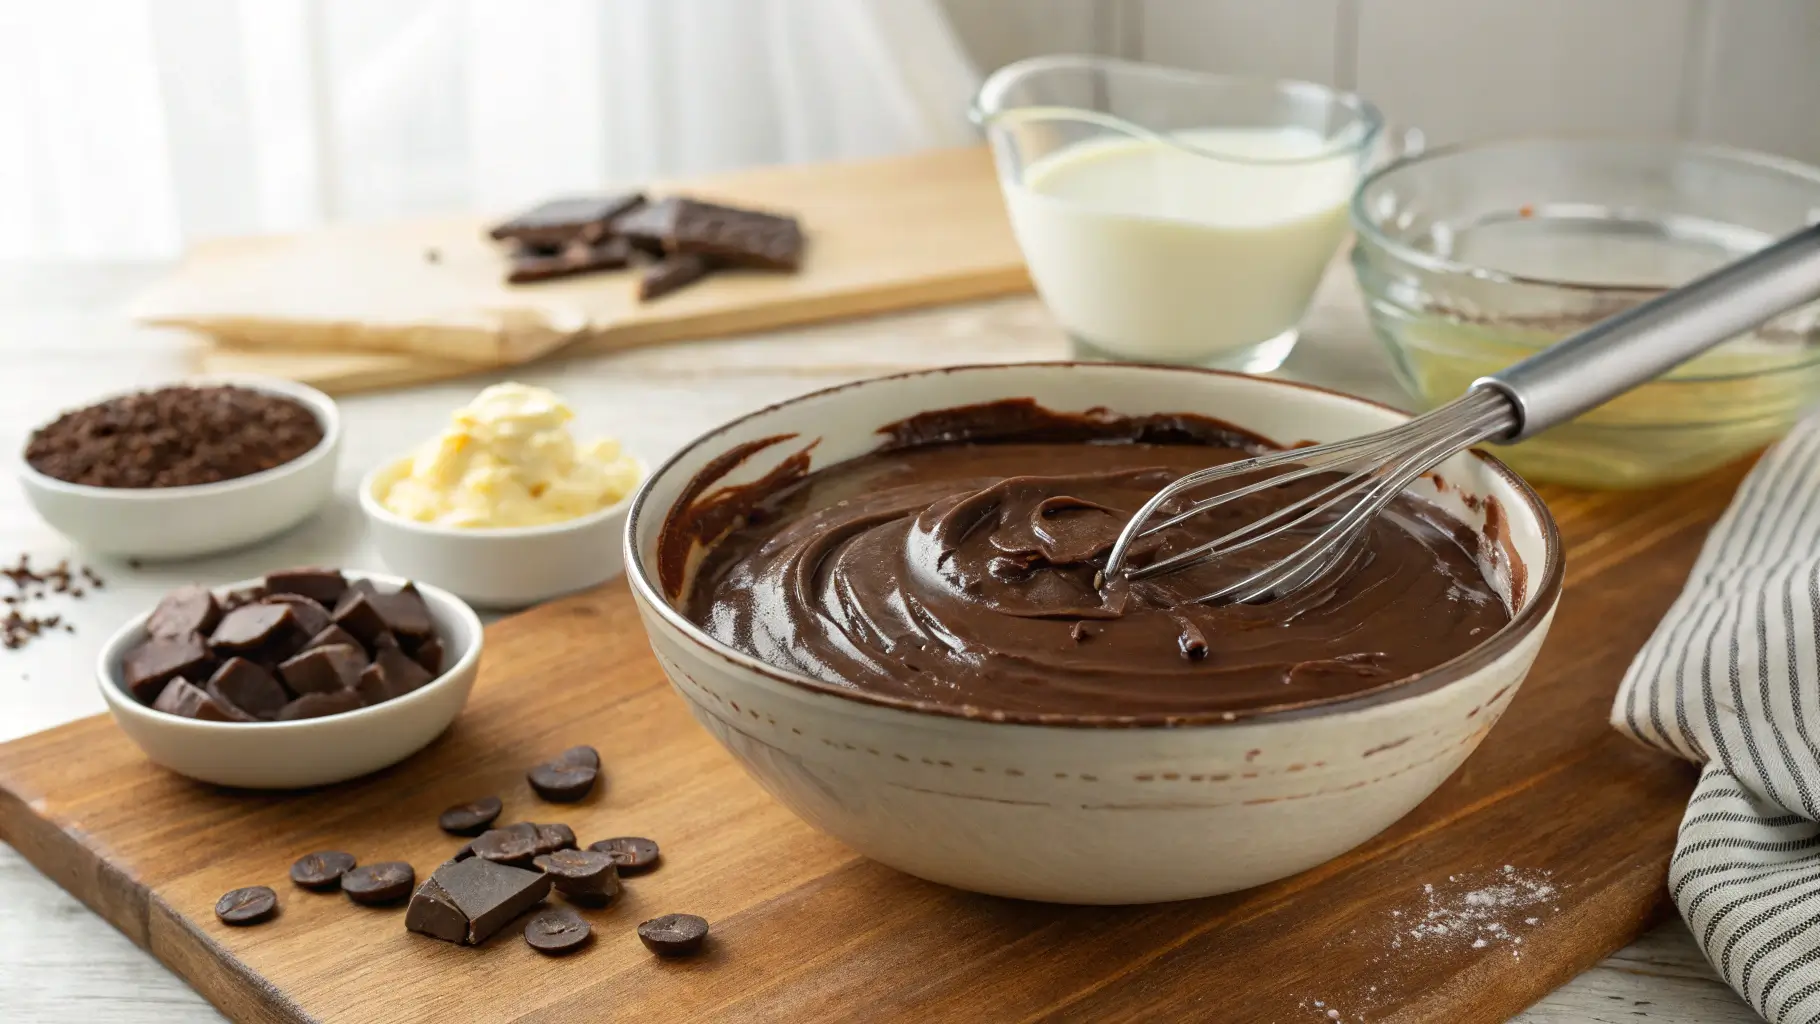
Step 3: Stir Like You Mean It (But Gently)
Now you can stir, but use a spatula or spoon – not a whisk. Whisks add too much air and can make things look weird and greasy. Start from the center and work your way out slowly until everything’s smooth and gorgeous.
Step 4: The Waiting Game
Here’s the thing nobody tells you: ganache looks totally different when it’s hot versus when it cools down. It’ll be super liquidy at first, then thicken up as it cools. If you want to drizzle it, use it warm. If you want to spread or pipe it, let it chill out for about 2 hours at room temperature.
When Things Go Wrong (And How to Fix Them)
It Looks Grainy and Broken
Don’t panic! This happens, especially with cheaper chocolate or if you got a little too aggressive with the stirring.
The fix: Add a teaspoon of water and whisk it in gently. Keep adding water bit by bit until it comes back together. You can also try a little butter or coconut oil – works like magic.
There Are Still Chocolate Chunks
Your cream probably wasn’t hot enough, or your chocolate pieces were too big.
The fix: Don’t microwave it! Instead, set your bowl over a pot of barely simmering water (don’t let the bowl touch the water) and stir gently until smooth.
Everything Seized Up Into a Gross Mess
This happens when even a tiny bit of water gets into your chocolate before you add the cream. It’s like chocolate’s kryptonite.
How to avoid it: Make sure everything’s bone dry before you start. Every spoon, every bowl – dry as a desert.
Making It Your Own
Want It Thicker or Thinner?
It’s all about the ratios! For thick ganache (perfect for truffles), use more chocolate than cream – like 2 parts chocolate to 1 part cream. For thin, drippy ganache, go closer to equal parts.
What Can You Actually Do With This Stuff?
Oh man, where do I start:
- Dip strawberries in it (fancy party trick right there)
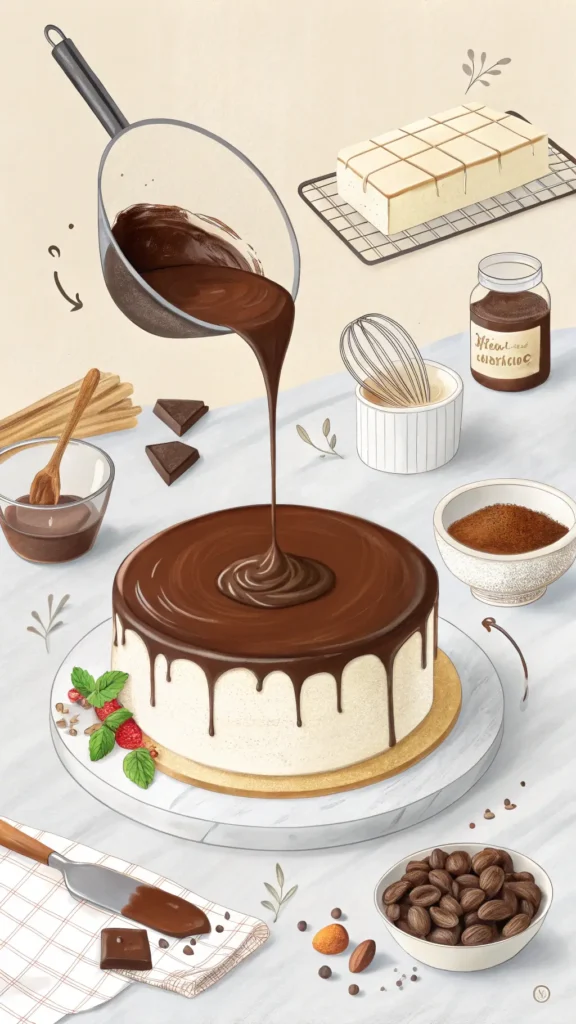
- Make those Instagram-worthy cake drips
- Use it as filling between cake layers
- Pour it over ice cream
- Spread it on cookies, brownies, whatever
Whipped Ganache is a Game Changer
Once your ganache is totally cooled and thick, you can whip it with an electric mixer until it gets light and fluffy – like chocolate mousse! This makes an amazing frosting that’s way less sweet than buttercream but just as pretty.
Keeping It Fresh
You can leave ganache out for a couple days if it’s not super hot where you are. In the fridge, it’ll last about 2 weeks and get pretty firm (but not rock hard). Freezer? Up to 3 months.
To warm it back up, just set it over that barely simmering water again and stir until it’s the consistency you want.
The Bottom Line
Look, ganache might sound fancy, but it’s honestly one of the easiest things you can make that’ll impress the heck out of people. Two ingredients, a little patience, and boom – you’re basically a chocolate wizard.
The worst that can happen is you mess it up and have to eat broken chocolate with cream. And honestly? That’s not really a problem, is it?