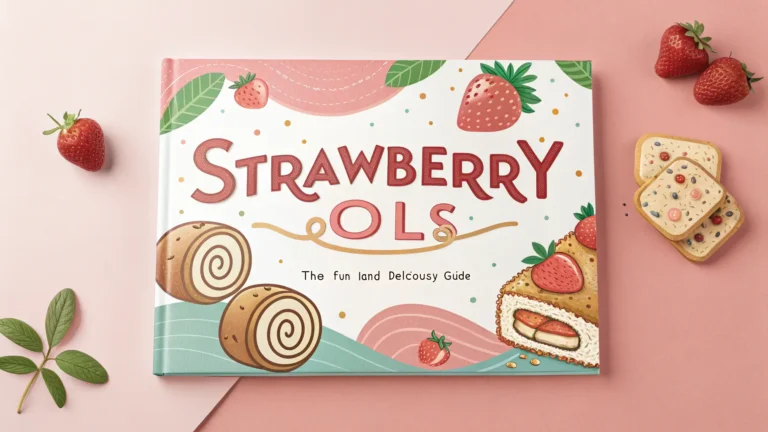

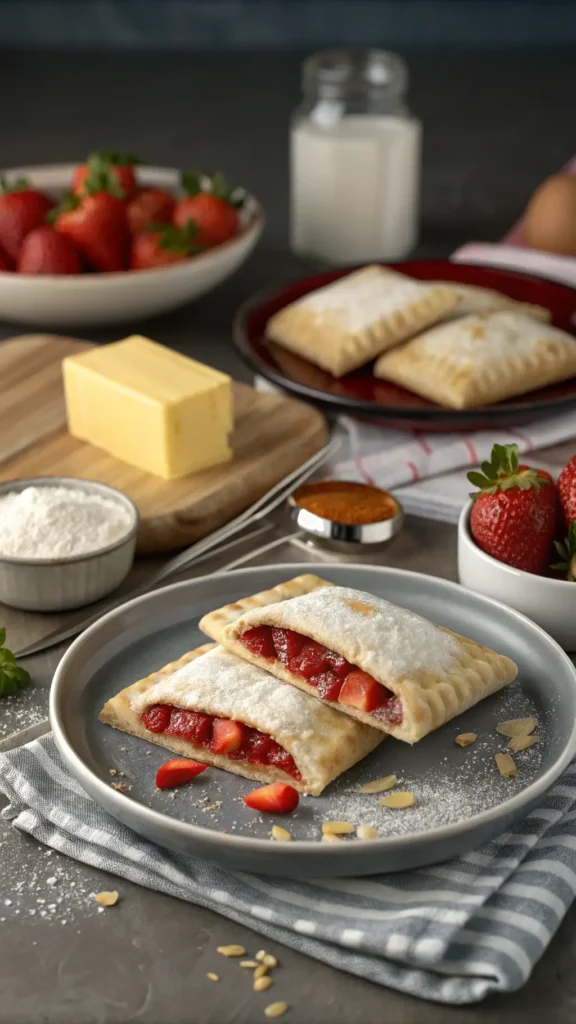
Homemade Strawberry Pop Tarts: Way Better Than the Boxed Ones
Okay, who else grew up living off Pop-Tarts? I definitely did. My go-to was strawberry, and honestly, they were magical in that silver wrapper. But once you try this homemade version — buttery, flaky, and full of *real* strawberry flavor — you’ll never go back to the boxed ones.
Why Make Them Yourself?
Let’s be real… store-bought Pop-Tarts aren’t exactly “real fruit.” Between preservatives, mystery fillings, and barely-there strawberries (yep, there was even a lawsuit), they’re more nostalgic than tasty. Homemade pop tarts, on the other hand, give you buttery crust, real strawberries, and total control over ingredients.
Ingredients & Tools
For the Crust:
- Store-bought pie crust (easy route)
- Homemade pie dough (all-purpose flour, very cold butter, sugar, salt, sour cream/Greek yogurt)
- Puff pastry (for toaster strudel vibes)
For the Filling:
- Strawberry jam + cornstarch
- OR homemade filling (strawberries, sugar, lemon juice)
For the Icing:
- Powdered sugar, milk, vanilla
- Optional: light corn syrup for shine
- Sprinkles (mandatory if you love fun)
You’ll also need an egg wash (egg + water), a rolling pin, fork, baking sheet, parchment paper, pastry brush, and maybe a food processor for dough.

- USDA Certified Organic Corn Starch
- Batch Tested and Verified Gluten Free
- Tasteless and Odorless
Step-by-Step Instructions
- Prep the Dough: Roll it out 1/8–1/4 inch thick. Cut into rectangles (about 2×3 inches).
- Make the Filling: Stir jam + cornstarch OR cook strawberries with sugar + lemon juice until thick. Cool completely.
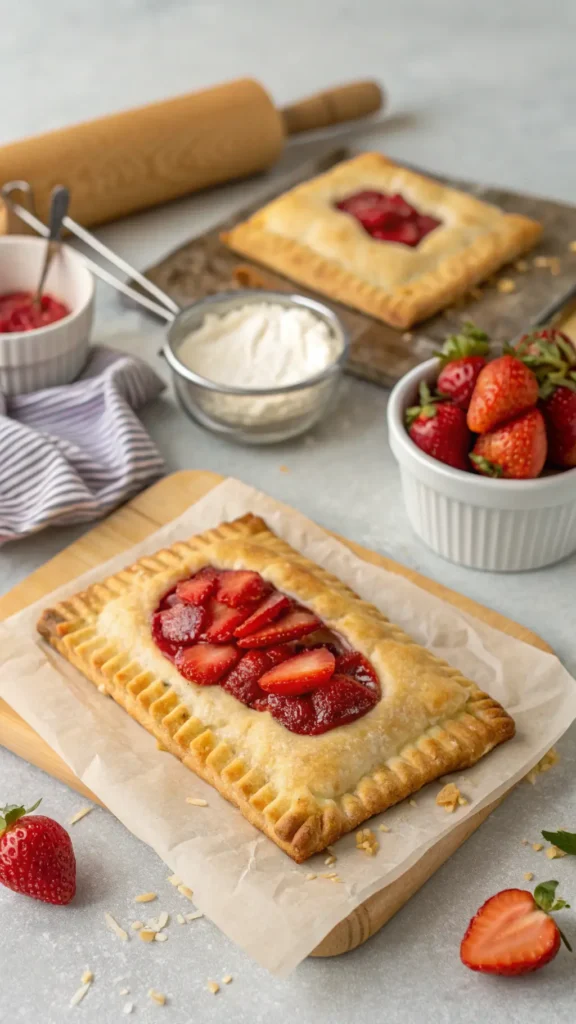
- Assemble: Place dough rectangle on tray, brush with egg wash, spoon filling in (don’t overdo it). Top with another rectangle. Crimp edges with a fork, poke holes in the top, brush with egg wash. Chill 30 min.
- Bake: 400°F until golden brown (20–25 min, depending on your oven).
- Ice & Decorate: Let cool fully before glazing. Mix powdered sugar + milk + vanilla (+ corn syrup if using). Spread glaze, top with sprinkles. Done!
Pro Tips
- Cold butter is your best friend — flaky crust depends on it.
- Less filling is better (unless you like strawberry lava explodes-in-your-oven vibes).
- Icing only goes on cooled tarts. Trust me.
- Don’t ever put a frosted one in your toaster. It’s a sticky nightmare. Use oven or microwave instead.
Fun Flavor Swaps
- Blueberry, raspberry, apricot, or marmalade
- Brown sugar + cinnamon
- Cream cheese mix-ins
- Holiday-themed sprinkles

- McCormick Ground Cinnamon is aged up to 15 years for rich flavor
- Versatile spice for sweet and savory recipes
- Non GMO
Make Ahead & Storage
- Dough: Store up to 3 days in advance
- Filling: Make 1–2 days ahead
- Unbaked Tarts: Freeze raw, bake from frozen later
- Baked (Unglazed): Freeze, reheat in oven, then glaze
Diet-Friendly Versions
- Gluten-Free: Use 1:1 GF flour + non-dairy yogurt for binding
- Vegan-Friendly: Plant butter, almond/oat milk, vegan glaze
- Low Sugar: Sugar-free jam + powdered sugar substitute
Final Bite
And there you go — Pop Tart nostalgia, but grown up! Flaky, fruity, customizable, and way too easy to bake on repeat. Perfect for breakfast, snacks, or whenever you just want a fun, bite-sized treat. Go ahead and try different fillings, add sprinkles for the vibes, and get ready to wow your family (or just yourself — no judgment).